Pages

Showing posts with label Desserts. Show all posts

Tuesday, April 5, 2011

Homemade Almond Joys

My brilliant roommate Stacy, made my mom some homemade Almond Joy's for her birthday, using a recipe from Joy the Baker. I thought that they were so delish and fabulous so I wanted to share them with you guys! Click here to see a step by step tutorial on Stacy's blog.


Homemade Almond Joy - Click for Printable Recipe

recipe found on www.joythebaker.com
makes about 30 little bars

Ingredients
7 ounces sweetened condensed milk
1 cup powdered sugar
1 tablespoon pure vanilla extract
pinch of salt
2 1/2 cups unsweetened flaked coconut
30 almonds
about 20 ounces (a bag and a half) of good quality semi sweet chocolate chips

Instructions
Preheat the oven to 350 degrees F, spread raw almonds onto a baking sheet and toast for about 10 minutes.  Remove from the oven and allow to cool.
In a medium bowl, whisk together sweetened condensed milk, powdered sugar, salt and vanilla extract.  Stir in the unsweetened coconut.  The mixture will be thick.  Place mixture in the freezer for 3o minutes.  It's easier to work with if it's a little cold.
Line a baking sheet with parchment paper.  Remove the coconut mixture from the freezer.  With clean hands shape one tablespoon of coconut into a little log about 2 inches long and 3/4-inch thick.  Press the logs together very well so they don't crack when dipped.    Place the log on the lined baking sheet and continue until all of the coconut mixture is gone.  Rinse hands occasionally if they get too sticky.  Press an almond on top of each coconut log.  It might not completely stick.  That's ok.  Place the baking sheet in the fridge to chill while you melt the chocolate.
Place a medium  pot with two inches of water over a medium flame.  Bring the water to a simmer.  Place chocolate chips in a heat proof bowl and place the bowl over the simmering water.  Stir the chocolate as it melts.  Turn off the flame once the chocolate has melted but keep the bowl of melted chocolate over the hot water.
Remove the coconut candies from the fridge.  Place one coconut almond log on a fork.  Use a spoon to scoop a bit of chocolate over the almond.  This will help the almond stick to the candy and not fall off during dipping.  Lower fork into chocolate and spoon chocolate over candy to coat.  Lift fork and gently shake to release some of the chocolate.  Scrape the bottom of the fork along the side of the bowl and place on the lined baking sheet.  You might need a toothpick to help get the candy off the fork. Repeat until all candy is coated in chocolate.  If chocolate gets thick, just turn on the flame and heat slightly.
Let dipped candy harden in the fridge for 45 minutes.  Store in an airtight container at room temperature.  If you need to layer the candy in a container, use waxed paper to separate the layers.

Friday, October 29, 2010

Caramel Apple Cupcakes

I guest posted this tutorial earlier this week, but I also wanted to have it on my blog so here it is! Usually I am so pumped for Halloween. This year however I am not feeling it, I didn't even wear my costume to work. I hate when I don't feel in the holiday spirit! Hopefully that will change soon! I even made a vampire Halloween version of Casey and myself.


 This recipe really caught my eye, it doesn't hurt that it's from Land O'Lakes
Rule #1 always trust a butter company when it comes to recipes.

Add your dry ingredients in a medium bowl. 
The recipe called forapple pie spice, but I didnt have it. So 
I substituted 1/2 teaspoon of cinnamon, 1/4 teaspoon of nutmeg, 
1/8 teaspoon allspice, and a dash of ground cloves.
 Pretend you see cloves in there


Let's also pretend like I have a picture here of the wet ingredients, 
I am consistently inconsistent.
Mix brown sugar, caramel sauce, eggs, butter, 
and half & half (I substituted milk for half & half)
mix for 2-3 minutes


Grate two small apples or the equivalent of one cup. 
 Grating apples is surprisingly fun


Add the dry ingredients and mix until just moistened.
Then stir in the apples.

 Bake at 350 for 25 - 20 minutes


How did I get them all of even? 
I will let you in on a cupcake filling secret.
Take a gallon ziplock bag pour the filling in, 
seal it and snip the tip! TA DA!

 I would have loved to take pictures of the process 
of making stove top icing but I am a nervous wreck 
when at the stove with sugar, I think the fear stems from 
an incident of fudge burning one Christmas.
Anywhosit this is what the consistency should be like.


This frosting sets very quickly, make the frosting right 
before the cupcakes are to be iced.

These make your house smell like the holidays, 
I love that quality in a dessert


I really should have cut this in half, 
but I couldn't take it anymore and 
I took a bite and now you can see 
my teeth marks. Sorry.

These were delicious, and fun to make I highly recommend them.

This recipe would make an EXCELLENT sheet cake. 
I love sheet cakes because of the sheer simplicity. 
You just pour the batter on a jelly roll pan bake, and 
then pour the icing on the the hot cake, 
you don't have to wait for the cake to cool.
I like my recipes like I like my men hot, quick, and easy.


slightly modified recipe from Land O'Lakes

Ingredients

Cupcakes
2 1/2 cup All Purpose Flour
1 1/2 teaspoons Baking Powder
1 teaspoon Baking Soda
1 teaspoon Salt
1 teaspoon Apple Pie Spice*
3/4 cup Firmly Brown Sugar
3/4 Butter, melted
1/2 Caramel Ice Cream Topping
1/4 cup Half & Half
3 Eggs
2 cups of shredded apples

Frosting
1/2 cup Firmly Brown Sugar
4 to 5 Tablespoons of half and half
2 1/2 - 3 cups Powdered Sugar
1 teaspoon Vanilla
1/2 - 1 teaspoon Butter Flavoring


Instructions
Heat oven to 350°F. Place paper baking cups into 24 muffin pan cups; set aside.

Combine flour, baking powder, baking soda, salt and apple pie spice in medium bowl. Combine all remaining cupcake ingredients except apples in large bowl. Beat at medium speed, scraping bowl often, until well mixed (2 to 3 minutes). Add flour mixture; stir until just moistened. Stir in apples.

Fill each prepared muffin cup with about 1/4 cup batter. Bake for 15 to 20 minutes or until toothpick inserted in center comes out clean. Remove cupcakes from pans; cool completely.

This frosting sets VERY quickly, make right before you are going to ice cupcakes.
Combine 1/2 cup brown sugar, 4 tablespoons half & half and 2 tablespoons butter in 1 1/2 quart saucepan. Cook over medium heat, stirring occasionally, until butter is melted and sugar is dissolved (4 to 5 minutes). Remove from heat. Stir in enough powdered sugar for desired frosting consistency, adding additional half & half, if necessary. Stir in vanilla and butter flavoring. Frost cupcakes.

Tuesday, October 26, 2010

Caramel Apple Cupcakes

My blogger buddy Monica from Monica's Road To the Middle asked me a while back if I would guest post for her. I accepted and two months later I actually got around to doing it! I have a lot going on ok!

Monica's blog is fabulous, its about her daily life, crafts, baking, furniture restoration, photography you name it Monica is doing it and blogging about it.
I am in love with this picture! Monica and her boyfriend Bobby.


I wanted to bake up something that is the epitome of Fall, after all Autumn is my favorite season. I ran across a recipe for Caramel Apple Cupcakes. I love caramel, I love apples, and I definitely love cupcakes my interest was peaked, the end result was FANTASTIC! Go check out Monica's blog and my guest post! Go go!

Thursday, September 30, 2010

Toffee Cake

I am SO behind, I really need to make a commitment to blogging blah!!


This is one of the best... if not the best refrigerator cake, ever EVER! I found it in my Nanny's old church cookbook. The thing I love most about fridge cakes if that you  can make then a day or two ahead of time, so it's just one less thing to make the day of a dinner, or get together. Not only does it remain good in the fridge for a few days but the cake actually improves in taste! This cake has never gotten a bad review in fact my boyfriend's little brother begs for thing probably once a month.

I have yet to figure out how to keep the cake in slice form...as you can see


but I think its best this way! Probably served better in a bowl.


First you need a chocolate cake mix, I use devils food cake--the cheapest you can find so it will be dry and able to absorb well. Then jarred caramel topping, condensed milk, cool whip and toffee bits, or a heath bar chopped.


Bake your box cake according to the directions on the box. While its baking get a small mixing bowl and combine caramel and condensed milk. Also chop up your heath bar if you didn't buy the bits. Once the cake is done take it out and immediately start poking holes in it with a fork. Really get after it! Then pour the caramel milk mixture over the cake. Add half the bits to the top of the cake and then place in the refrigerator to cool completely. Once cooled top with cool whip and the rest of the bits.

My best friend and I made this for her boyfriend. here she is leaving with her loot 


Toffee Cake - Click here for Printable Recipe


Ingredients
1 box Devil’s Food Cake Mix
1 jar Caramel Topping
1 can Condensed milk
1 large tub Cool Whip
1-1 1/2 cup Toffee Bits


Instructions
Prepare cake according to package directions. Immediately after removing cake from the oven, grab a fork and poke holes all over the cake. In a small mixing bowl combine caramel, and condensed milk, pour over hot cake, spread it over the entire cake, top with toffee bits. Chill well. After cake has cooled completely, spread cool whip over the top and sprinkle remaining toffee on top of cool whip.

Friday, July 16, 2010

Peach Cobbler

I found a cookbook my Nanny gave my mother when I was a baby, I love old church cookbooks. I am going to start trying out some of the old recipes in there, this is the first one I've tried so far and it is fabulous! I love southern food, and southern desserts especially.


Preheat oven to 350.
Place a stick of butter in an
oven safe casserole dish and 
put the dish in the oven for the butter to melt


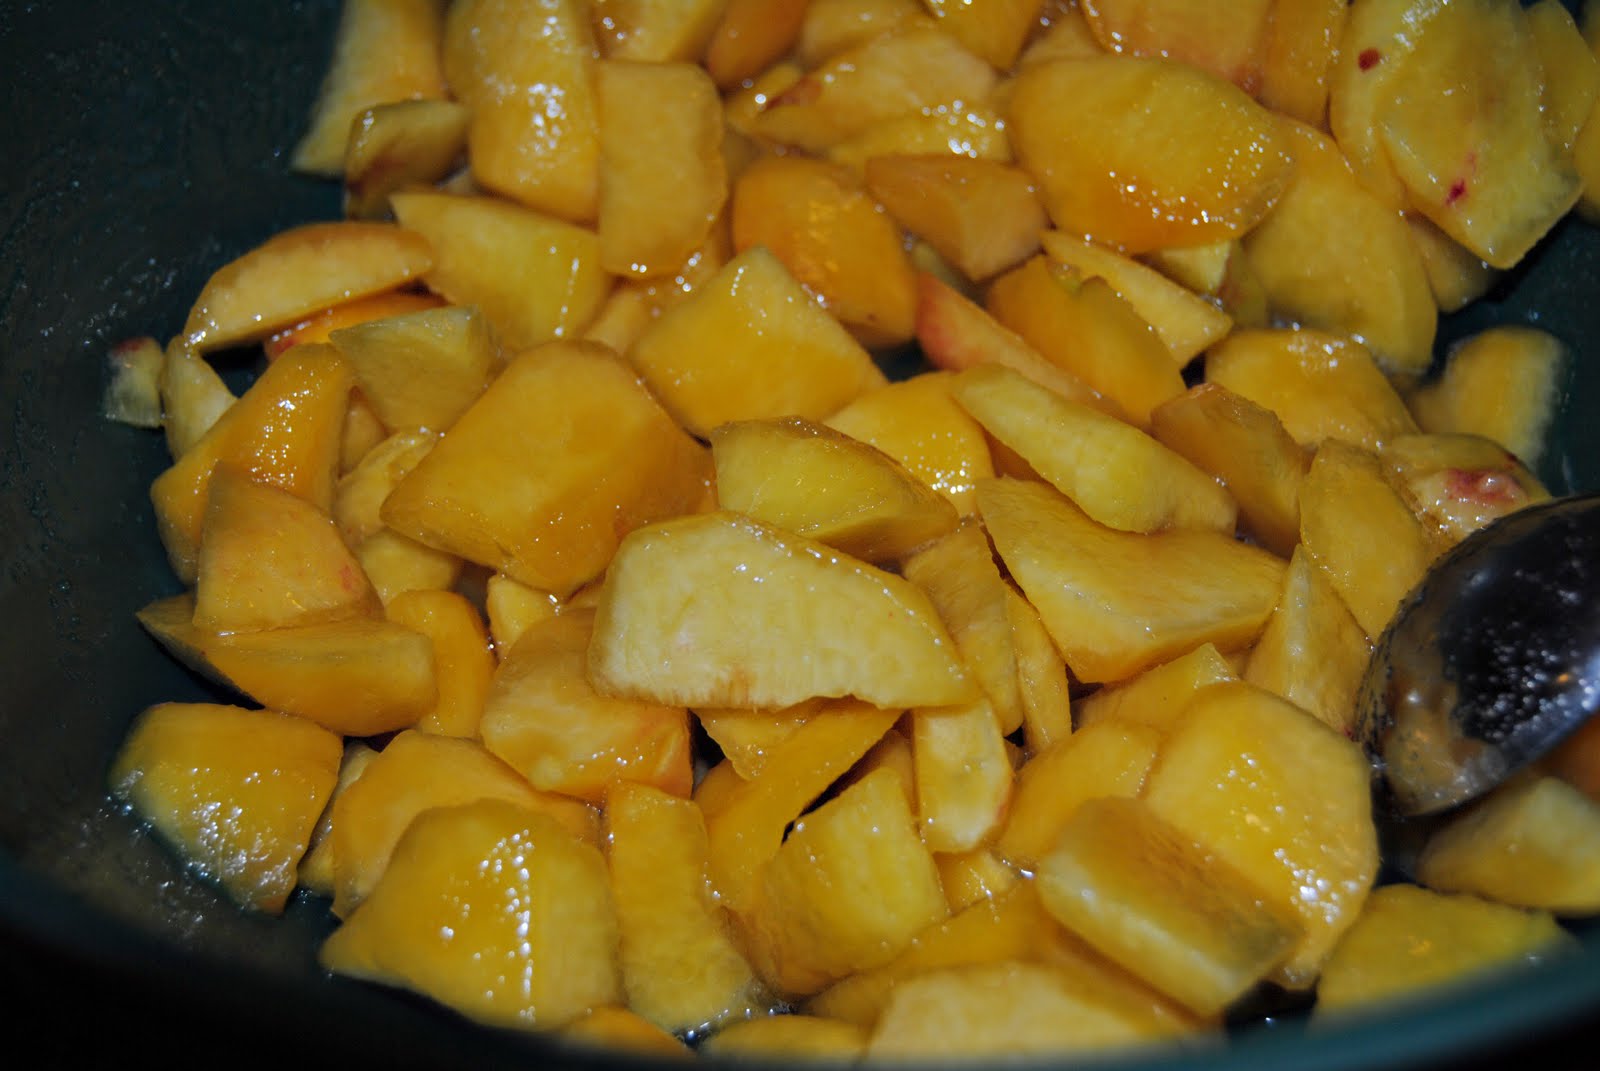
Peel and slice peaches, place in a bowl and
pour 2T of lemon juice, stir to distribute


Then pour 1/2 cup of sugar, and microwave 1 minute to help melt the sugar


In a separate bowl add 1 cup self rising flour, 
1 cup sugar,  1/2 - 1 teaspoon of cinnamon and mix.
Then add one cup of milk until thoroughly mixed.


Remove the dish from the oven.
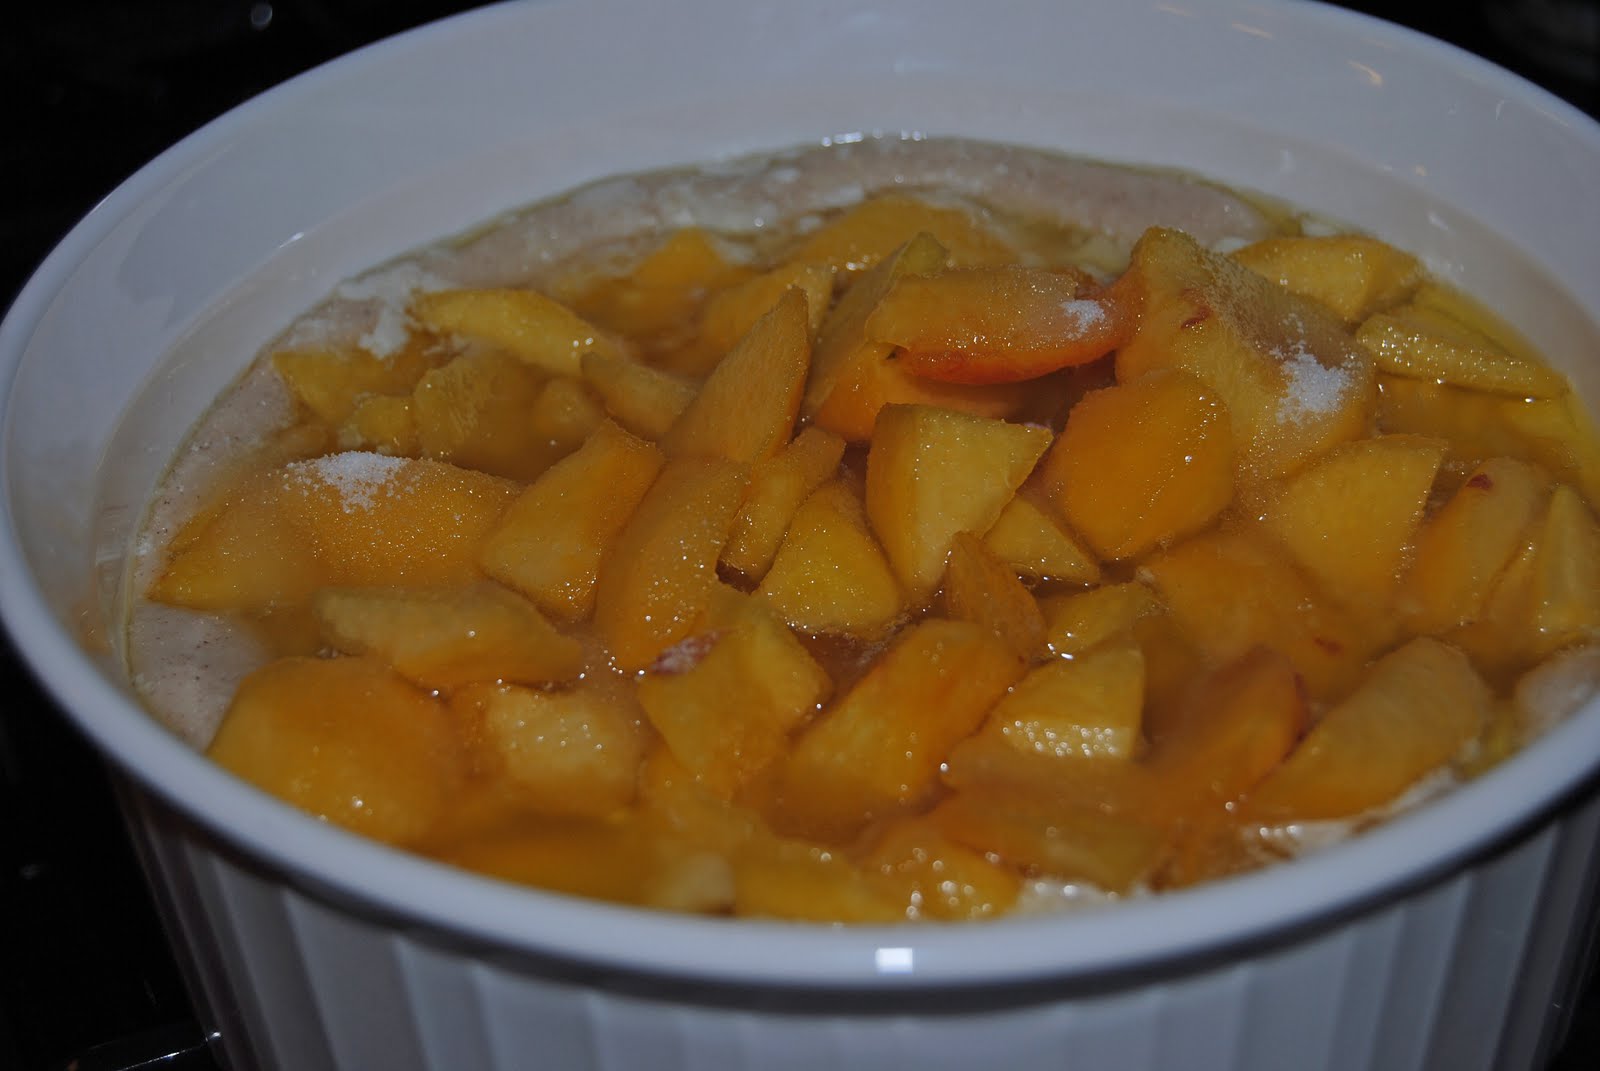
Pour in the batter, then pour in the peaches.
Sprinkle 1T sugar on the top. DO NOT STIR.
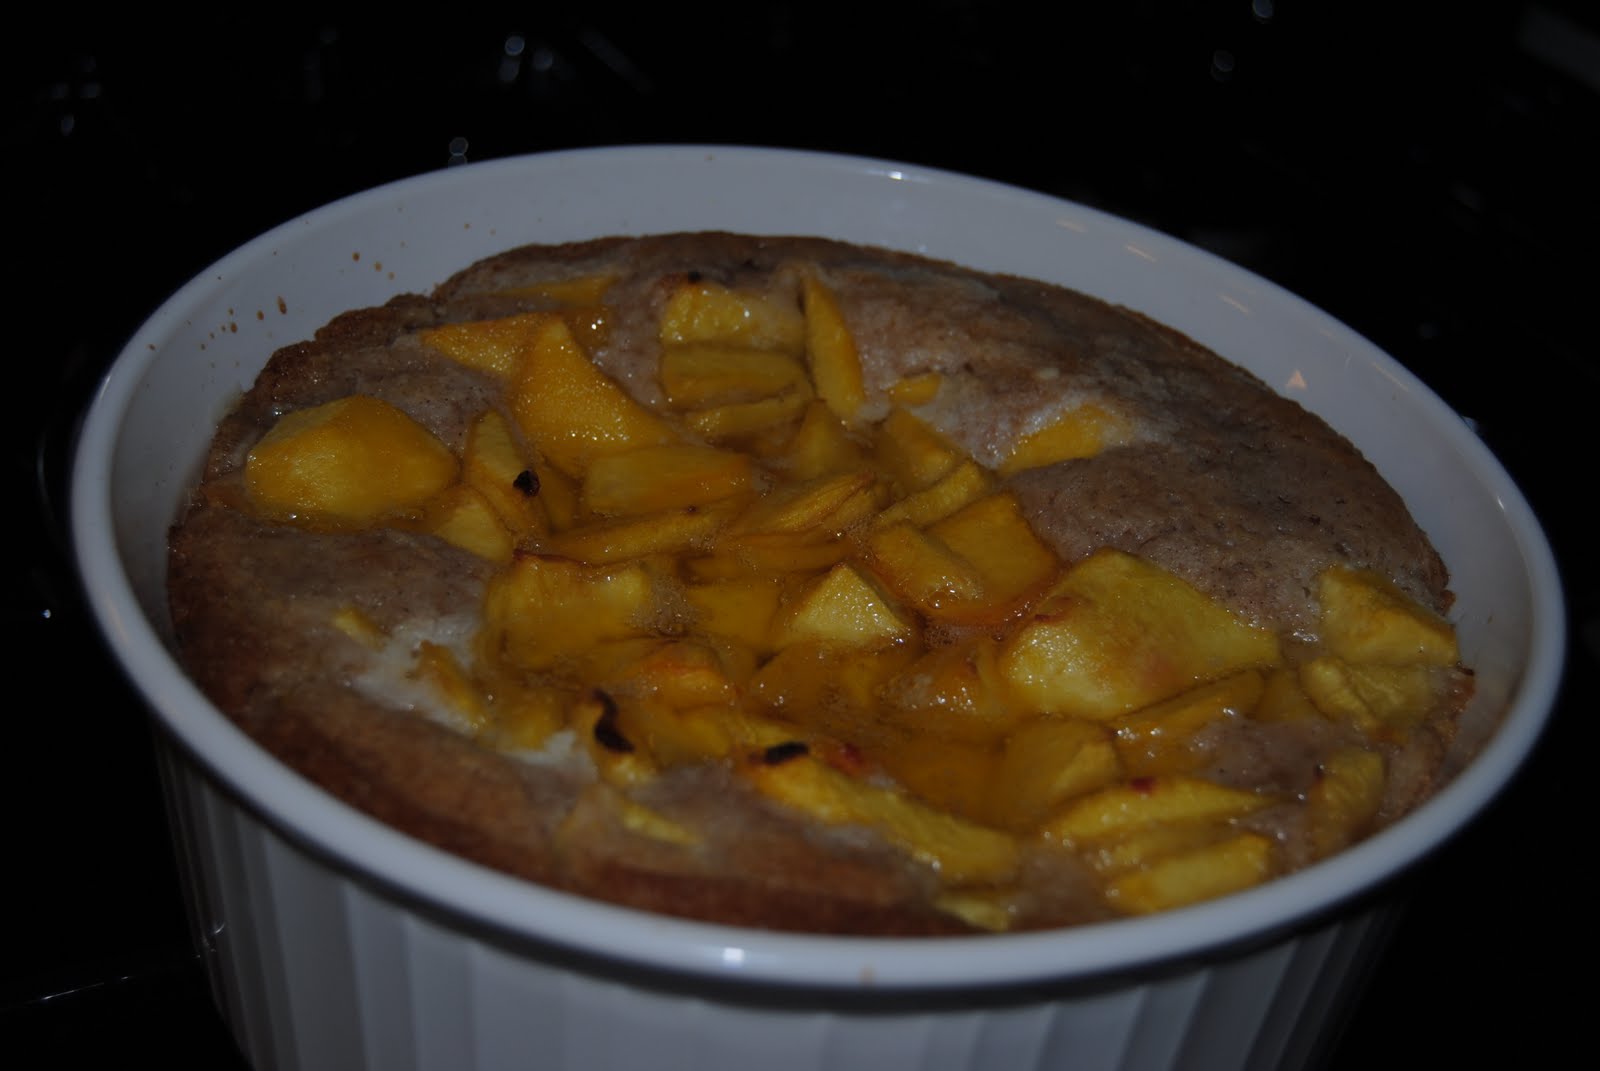
Bake for 55 minutes.


Be ready for your house to smell delicious.
If nothing else bake this before company
comes over solely for the aromas it gives off


Ingredients
1 1/2 cup Sugar (divided)
1 stick Butter
4 cups Peaches
1 cup Self Rising Flour
1 cup Milk
1/2-1 teaspoon Cinnamon
2 tablespoons Lemon Juice

Instructions
Preheat oven to 350.
In an oven safe dish place one stick of butter,
then put the dish in the oven while it is preheating.
Peel and slice 4 cups of a peaches, add
2T lemon juice and stir to distribute
Add 1/2 cup of sugar, microwave for 1 minute to help the sugar melt.
In a separate bowl add one cup of sugar, one cup of
self rising flour, and your cinnamon, stir until combined.
Add one cup of milk, mix thoroughly until combined.
 Remove the dish from the oven once the butter has melted.
Add the batter, then the peaches then sprinkle one tablespoon
of sugar over the top. NEVER STIR. Bake for 55 minutes.

Top with whipped cream, ice cream or both!!
However this is one of the first cobblers I've had
that tastes perfectly delicious without any extra adornments.


Tuesday, June 22, 2010

Delicious Dirt Cake

Most people have had dirt cake, so I didn't think it was worth a post until I saw how much everyone at a recent party loved it! I am not a huge pudding fan, so I enjoy dirt cake but it isn't on the top of my list. It is a simple dessert that is extremely kid friendly, oh and a man pleaser.


I usually put this in a bucket with gummy worms, the traditional way.

 picture courtesy of www.kids-party-paradise.com


But since this was an adult party I decided to put it in
a trifle dish, and I really love the way layers look.

I haven't made this cake since my boyfriend's mother bought me a handy dandy food processor for Christmas. I love it, can't get enough of it. I kiss it before I go to sleep every night. I hate when people say that food processors aren't necessary. NOT TRUE! 

I have tried to grind Oreos up in a blender, it was a mess and they stuck in the bottom. 
Crushing them with a can is effective but it is time consuming  and most of the time I crush the bag so much there's a hole and then a mess. The processor cut my time in half, it was like a cooking miracle. 


Look at how fine crumbs turned out. Ah fabulous.

Ingredients
1 pkg Oreos
8 oz Cream Cheese
1 cup Powered Sugar
1/2 cup Softened Butter
3 1/2 cups Milk
2 (3.9 oz) packages Vanilla Pudding
12 oz Cool Whip


Instructions
Cream together, Butter, Cream Cheese and Powdered Sugar
Mix 3 1/2 cups of milk with pudding packages (I put mine in the fridge for a few minutes to firm up) then add cool whip. Then mix with Cream Cheese mixture.
Place Oreo cookies in a food processor and process until the cookies are fine crumbs, you can also place cookies in a large ziplock bag and crush with a rolling pin, or even a soup can would work, until cookies become desired consistency.
Starting with cookie crumbs alternate layering with cream cheese and pudding mixture ending with crumbs. Let refrigerate for at least 2 hours.


Monday, May 24, 2010

Banana Pudding

Banana pudding is one of my very favorite desserts, I can't get enough banana pudding ice cream, and if you haven't had banana pudding ice cream you need to reaccess your priorities. This is definitely best the next day after the flavors have all come together and and nilla wafers are soft and delicious!

This is nostalgia recipe for me, my mom and I used to eat this by the bowl full when I was a kid. In fact tonight, I caught her standing in front of the refrigerator, eating it out of my beautiful trifle dish. No one can accuse us of being ladies, ahem. Just don't tell her I told.


I made this all fancy schmancy for presentation sake,
but it is a nice way to serve it if you are having a dinner party. 
Most of the time i just pile it into a cereal bowl and munch.

I wanted to take pictures of the whole process, however 
I was also making dinner, and I had a
salivating starving boyfriend 
waiting, there was no time for pictures!


I love my trifle dish


I took these with my new Nikon
It's my first SLR camera and I am still learning.
I wish I had natural light, but oh well, 
most of my free time is at night.


since I didnt take tutorial pictures, and I had a 
new camera I took a bunch of pictures blah.


I love banana pudding. I know you will love this recipe.


Ingredients
1 (5 oz) package Instant Vanilla Jello Pudding
1 small Condensed Milk
1 package Cream Cheese
3 cups Milk
1 teaspoon Vanilla Extract
1 (8 oz) Container Cool Whip
1/2 box Vanilla Wafer Cookies
4 bananas sliced

Instructions
In a large bowl, whisk pudding and 3 cups of milk place in fridge. In a medium bowl mix soften cream cheese and condensed milk. Take bowl out of refrigerator and add cream cheese mixture. Fold in Cool Whip. In a trifle, bowl, or 9 x 13 pan place a layer of Nilla Wafers, bananas and pudding mixture, repeat ending with Nilla Wafers and Bananas. Best if chilled overnight.

Friday, May 7, 2010

PW's Blackberry Cobbler

'Tis the season for blackberries, I was at the store and they were on sale 2 for $3! I grabbed 2 containers and decided I would do something with them, and the first place I always look is The Pioneer Woman's recipe index. I have never been much on cobblers, but I am getting adventurous in my old age, plus I have never had a cobbler like this before, and I am a sucker for recipe's with simple ingredients.


When I was a little girl, every summer I would go with my friend Lauren to Big Sandy, Texas to visit her family. I loved it there, they lived out in the middle of no where and her grandpa would take us to pick blackberries. Me, Lauren and all her cousins we go with our own bags and spend the morning picking berries, I always felt very pioneer like, especially since her grandmother was full blooded Potawatomi Indian Native American. We would come back from picking berries, and she would take old jelly jars and fill them with berries and whipped cream for each of us.

Enough back story on with the recipe!
NOTE: IT was night, and I wanted to bake and make a tutorial but I also hate using a flash so these pictures kind of, SUCK. Sorry I will try harder next time.


SIMPLE INGREDIENTS! 


1 cup of sugar, one cup of self rising flour, and one cup of milk


Mix together


add one stick of melted butter, whisk


Butter your baking dish


Pour batter in buttered dish


take your blackberries, you can also use frozen if you like. 
 The recipe calls for 2 cups I think this is just under 2 
but it had PLENTY of berries for my liking.


mmmmmmmmmm berries


One container


Two containers


Now sprinkle 1/4 cup of sugar on top.


Like the Pioneer Woman and Gaty- two of my 
favorite ladies and cooks would say
if some sugar is good more is better!

Bake at 350 for 1 hour. 10 minutes before it is ready sprinkle 
one tablespoon of sugar on top, just for good measure.


This was DELICIOUS! Definitely better with
vanilla ice cream though, served warm!


Make this for your mama this weekend!!
I know mine ate about half of this.


Note: Serve with vanilla ice cream for maximum taste, or whip cream whatever butters your bread


Ingredients 
1 stick Butter
1-¼ cup Sugar
1 cup Self-Rising Flour
1 cup Milk
2 cups Blackberries (Frozen Or Fresh)
    Instructions
    Melt butter in a microwavable dish. Pour 1 cup of sugar and flour into a mixing bowl, whisking in milk. Mix well. Then, pour in melted butter and whisk it all well together. Butter a baking dish.
    Now rinse and pat dry the blackberries. Pour the batter into the buttered baking dish. Sprinkle blackberries over the top of the batter; distributing evenly. Sprinkle ¼ cup sugar over the top.
    Bake in the oven at 350 degrees for 1 hour, or until golden and bubbly. If you desire, sprinkle an additional teaspoon of sugar over the cobbler 10 minutes before it’s done
    I love you mom!!
     HOT, why am I so cute?!
    I love you GATY!

    Happy Mothers Day!
    Related Posts with Thumbnails